
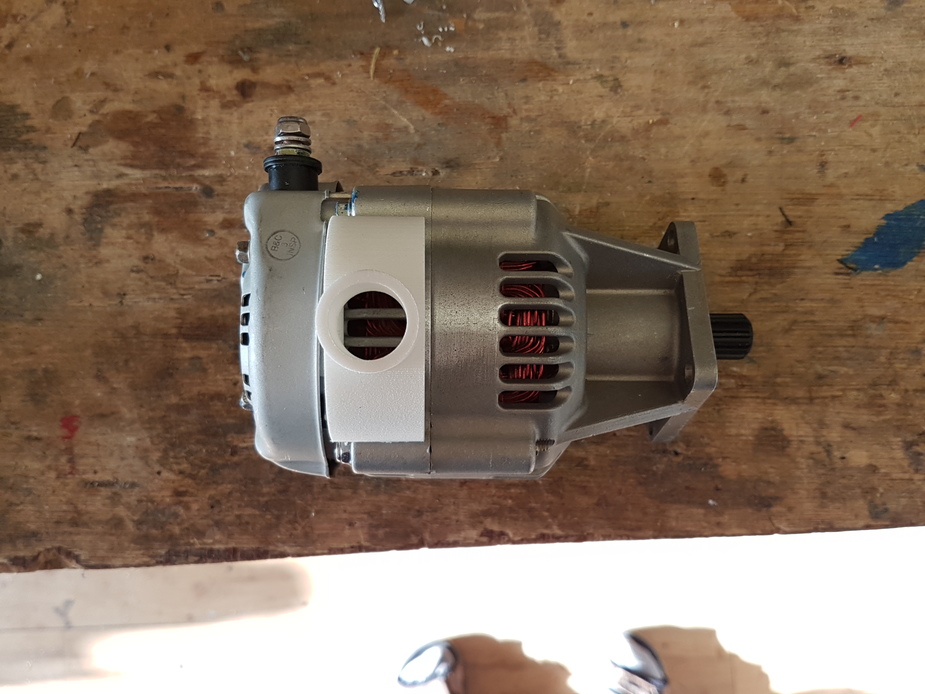
Just an update: a colleague is now helping me with this, but I have discovered, upon a close examination of the alternator, that it has a directional impeller inside, at both ends actually. I have found out (by inspection of the impeller) that the direction of the rotation in this particular installation is such that it draws air in at the back and this was proved with a smoke source. So the adaptor needs to go at the back:

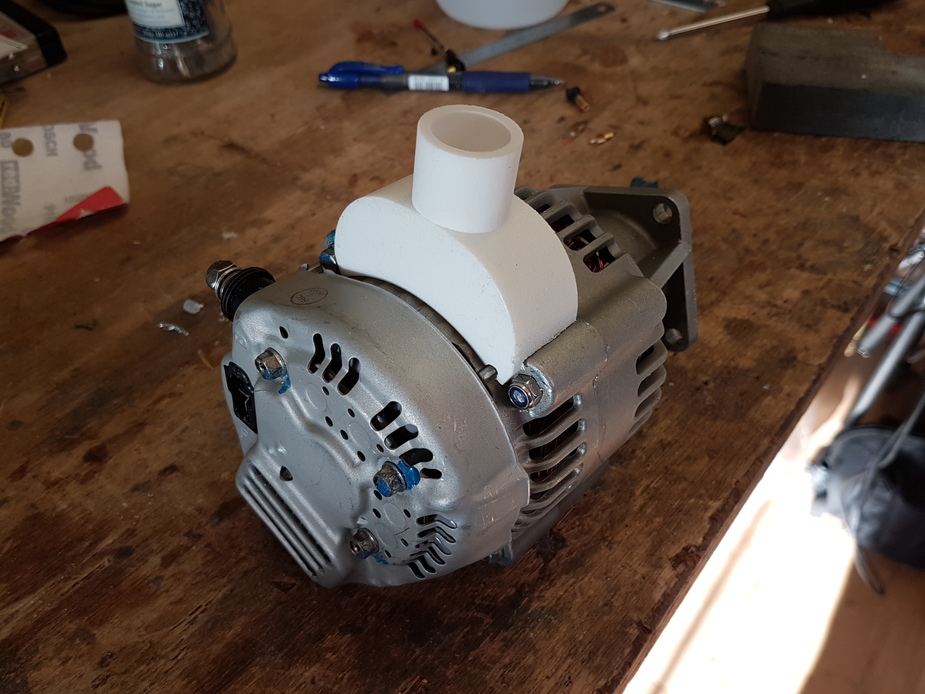
Here we go… a friend has very kindly done the 3D drawing and got some printing firm to produce it in some plastic. I had to file the mating edges around a little though

great to hear Peter
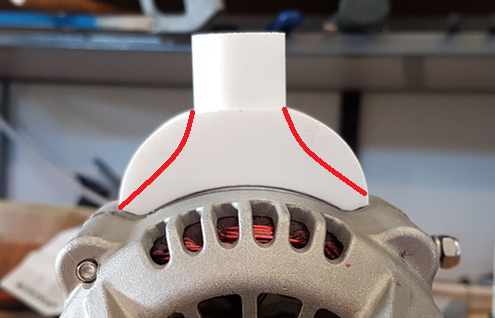
maybe you can ask ur friend to modify the drw a bit if you want to have a bit optimized air flow to something along the red line to avoid some “low press” pockets
Printed in aluminium:
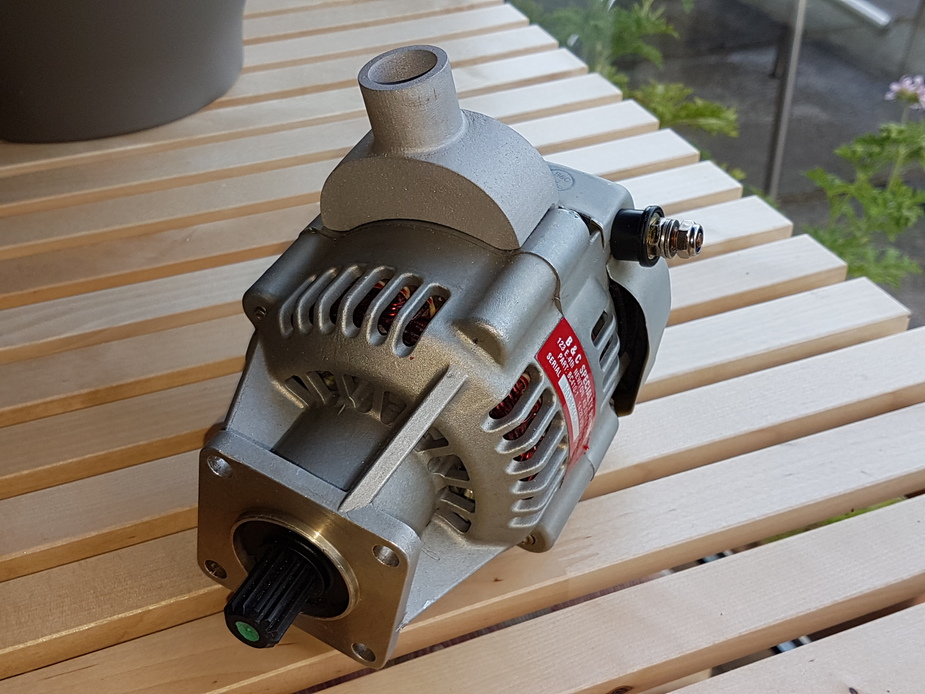


200 quid.
Installed:

The cable ties are just to hold it in place while the epoxy (Loctite EA9492; special high temp stuff) goes off.
The cooling air provision is optional anyway.
That’s one way of doing the job, I would probably opted to build the duct from carbon fibre.
How would you make the mould?
How would it be attached to the alternator? I am not sure if any adhesive bonds carbon fibre to aluminium (well).
Peter wrote:
I am not sure if any adhesive bonds carbon fibre to aluminium (well).
just as ref. if you ever have to do something
this will do it for sure also works well in “warm” envirement
we used this stuff to bond carbon chassis, also carbon suspension componants with titanium inserts etc.
Peter wrote:
How would you make the mould?
for a part similar like this were only 1 item is needed, you could do it with a “positive” mould (could be nicely done in 3d with smooth radius etc) from a material that can get “lost” after laminating. making the “positive mold” from a high temp wax could be one example, than after a long curing proces of the cfk with the raisin, the “positive mould” could get “lost” with high temp (melting away)
this would be one way I hope I explained it good enought to understand
in german (may if interested google translater)
https://www.konstruktionspraxis.vogel.de/von-3d-gedruckter-form-zum-gfk-hohlkoerper-a-462827/
https://www.konstruktionspraxis.vogel.de/index.cfm?pid=7506&pk=462827&fk=0&type=article some pics
But Peter you did a mega job on this from idea to planing to mfg and installation great to see!!!
The “3D credit” goes to @Aveling actually 
Last time I did 3D modelling was with Solid Edge, sometime in the 20th century 
Interesting 3M adhesive… I suspect it is very similar to the (similarly ultra expensive so hey it must be good) Loctite one I used.
I would probably have looked at extending the duct with a pair of ears to pick up on the alternator through bolts, and use a female mold probably constructed from wood with filler.

