Maybe not quite a “restoration” but following from Restoring a Europa in which I helped a friend return a dormant Europa back to airworthiness, I’d been looking for a similar project to do myself.
The first question is what type. I bought an Escapade earlier this year which has been great fun and really cheap to operate, but cruising at 75kt does make it a bit arduous to go anywhere. The obvious choice for a fun economical plane which is aerobatic capable yet suitable for touring would be an RV, further confirmed by Dan’s antics in his RV6 .
Which RV then? Flying in the back of an RV8 confirmed that personally I don’t want tandem, as I just prefer the practicality of side by side for many reasons. This ruled out the RV4 and besides, I was not going to find a bargain RV8 any time soon. The RV14 is definitely out of the question cost and availability wise, and the RV12 whilst being a good plane was not for me (rotax and non aerobatic). The RV7 seems the obvious choice, but the prices of them are simply far beyond what I can afford.
This led me to dive into researching the RV6. The RV7 is basically a redesign and is made with pre punched holes, so they are more likely to be built straight and have many improvements in the design. The 6 was a much more involved and harder build. The other downside to the 6 is that they are almost all 20 years old at least, with old engines, usually basic avionics, fixed pitch etc and many of them were built without corrosion proofing. However, the end result in terms of performance and usability of a 6 vs an equivalent 7 is just about the same. I looked at 3 RV6 examples at local airfields to get a feel of variations in build quality.
About a month ago, this RV6 popped up at a local dealer.
The dealer didn’t seem to know much about it (perhaps to be expected) and I was a bit confused because the original build was clearly done to go a good standard, yet the plane had become tatty. The belly hadn’t been washed in forever, and it was obvious that no one had removed the cowling since probably the last annual. This was confirmed by the logs which showed only 15 or so flights during the last year. I was puzzled because RV owners tend to be hardcore tinkerers. The main other concerns were engine age and repairs following two ground loops. The second ground loop was fairly major and involved an LAA approved repair to the rear fuselage, a new fin and rudder, new aileron and new engine mount and gear legs.
Initially I decided to walk away, but after asking around I found that the plane was well known locally and within the wider RV community. The plane was inspected during build and all the way up until 2018 by the main local RV inspector (Adrian Brook) and he has a wealth of knowledge on this exact plane. @Dan has also been a great help and provided loads of advice. It transpired that it was simply the most recent owner hadn’t looked after it, and he’d only had it for just over a year.
The main problems boiled down to the dealer not having any paperwork besides the logs, an expired permit making a test flight impossible, the questions over the engine and finally the price. The price of £79k was probably OK if the plane was in pristine condition with no damage history, but much too high in its current state. Initially the dealer suggested they do the work and provide it with a permit. No thanks! Following a total of 3 inspections and assurance from others who knew the plane that it was a decent airframe, I negotiated with the dealer and bought it for £58k on the basis that they wouldn’t touch it and I’d arrange everything.
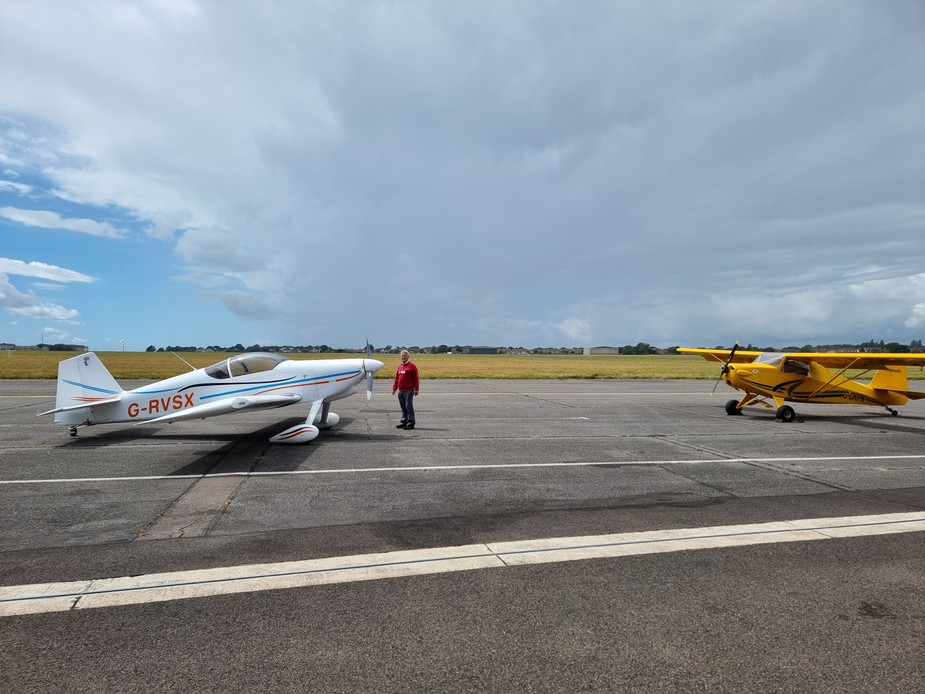
This is where the fun started, as I now had a plane with no permit to fly that needed to be moved back to base. Luckily, Adrian the inspector was able to both issue a flight release to move the plane back for maintenance and fly it for me as I have no RV pic time.
Exciting day, flying my little Escapade to Lee on Solent to collect the RV and fly it home. Adrian getting ready to jump in and go before the rain in the background arrived:
To be continued…
@IO390 congratulations have you found a hangar for it? Looks good looking and quite fast.
Congrats (now public  ) @IO390
I was happy to participate somewhat in the process, and have to admit being impressed by your cool analysis concerning the different projects you looked at, and of course your downright haggling skills leading to RVSX 
As you get to know SX, you will discover an honest, responsive, and good performer in the RV-6. An airplane is a compromise per se, but Van’s did really strike with the famed Total Performance pitch in the -4 and -6. Fantastic performance in an affordable craft, in a lighter and lower powered model than today’s stable offerings (and none of those laser cut parts…).
Wishing you many hours of tinkering, improving, pimping up, and above all flying, your new pride and joy!
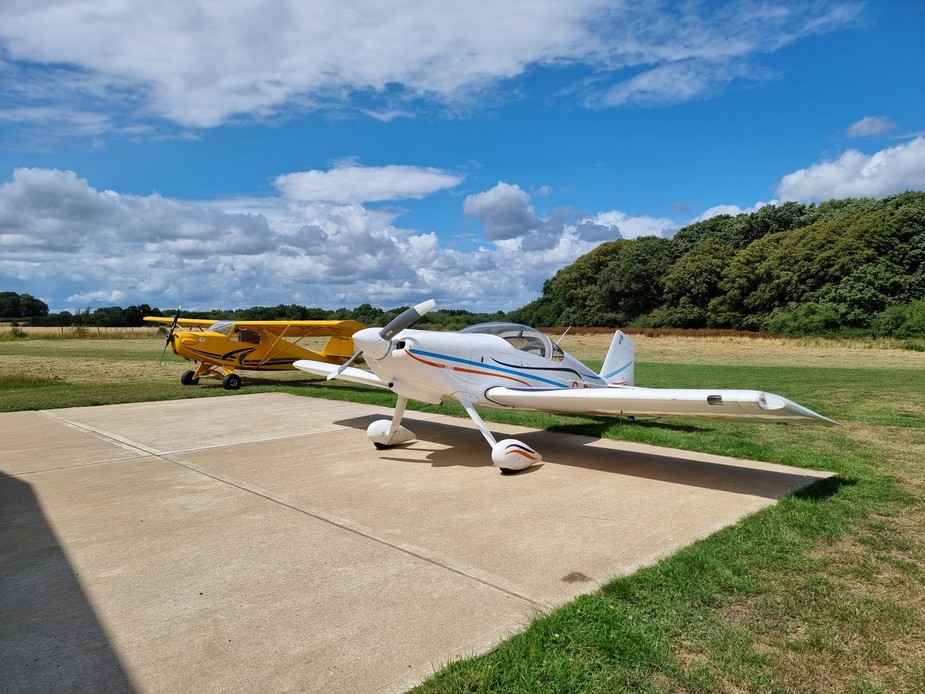
@RobertL18C I do have a space for the time being in a friend’s brand new hangar garden shed, though I might get kicked out when he inevitably buys an RV for himself :)
The spec of this RV is really basic, a O320 D2A and fixed pitch Aymar Demuth wood prop. Manual trim, Trig 8.33 and mode S and that’s about it. This worked for me as it allowed me to more comfortably afford it instead of paying a premium for fancy avionics which don’t provide any operational benefit in a VFR aeroplane.
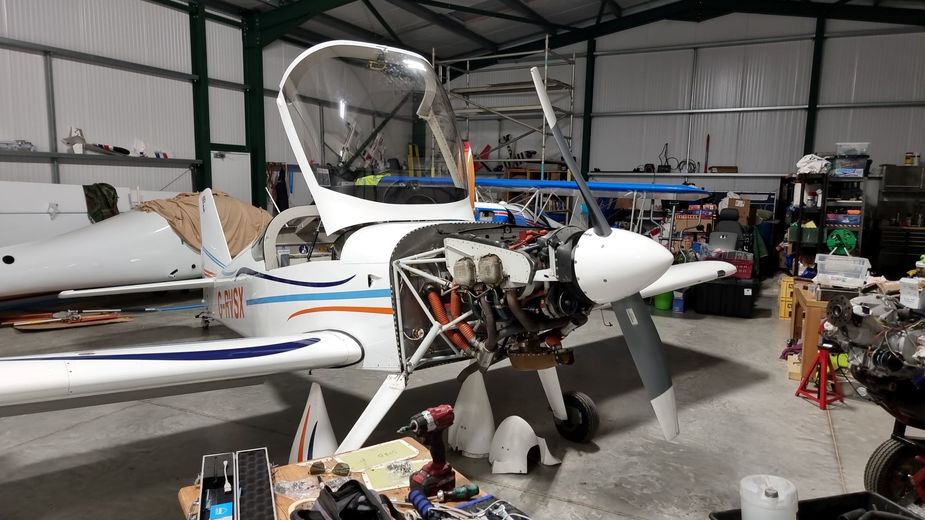
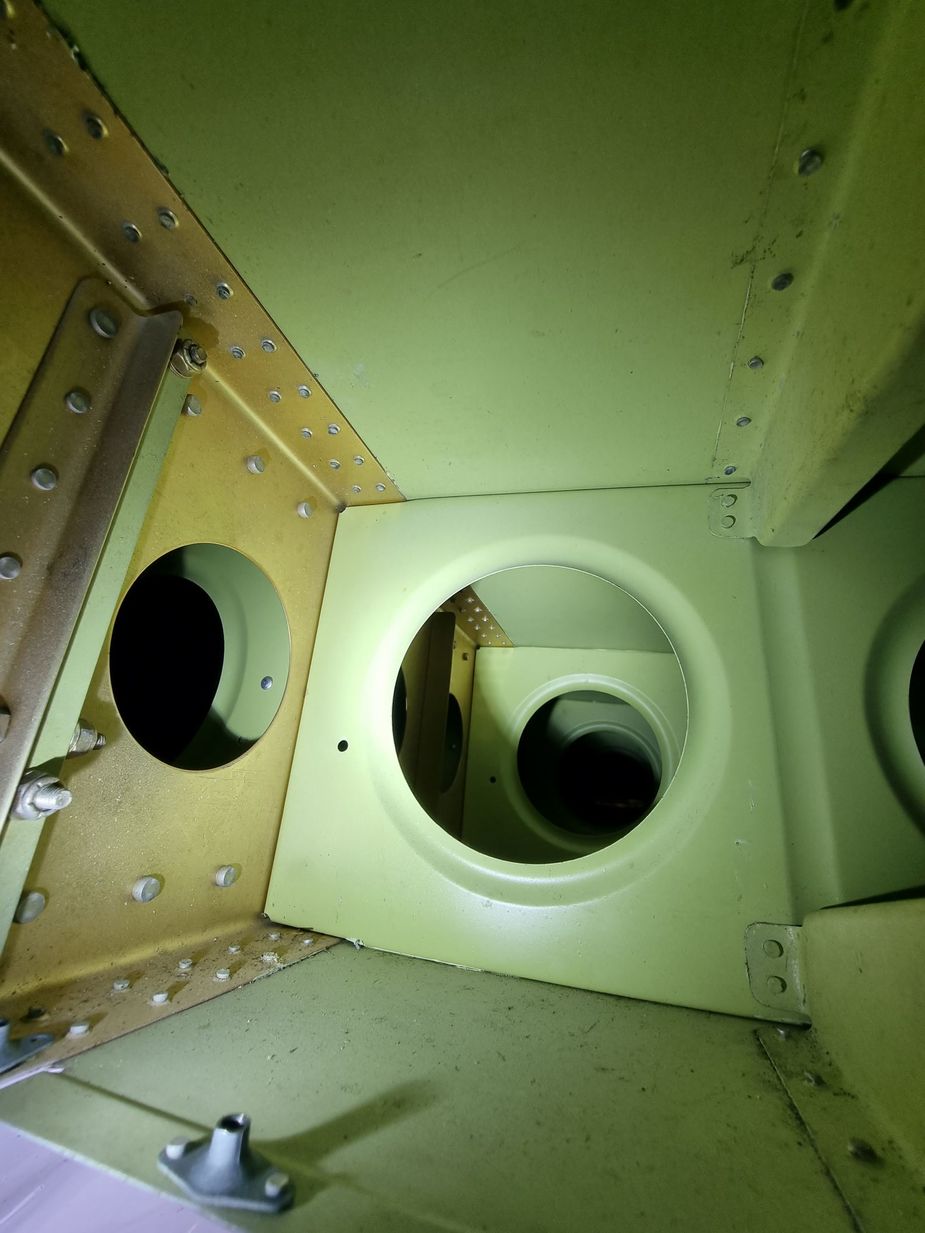
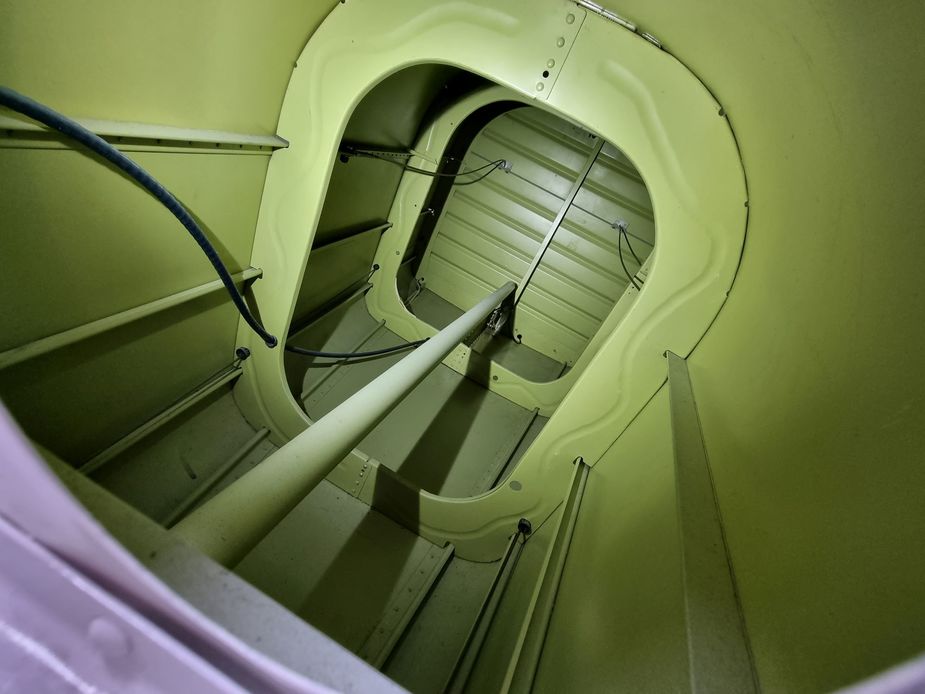
Taking the fairings and panels off showed the structure was in good condition. This one was fully primed during build and the parts assembled with jointing compound. The original owners then moved to Portugal and took the plane with them, so it lived there for about 12 years, I suspect this is why there is no corrosion on the airframe.
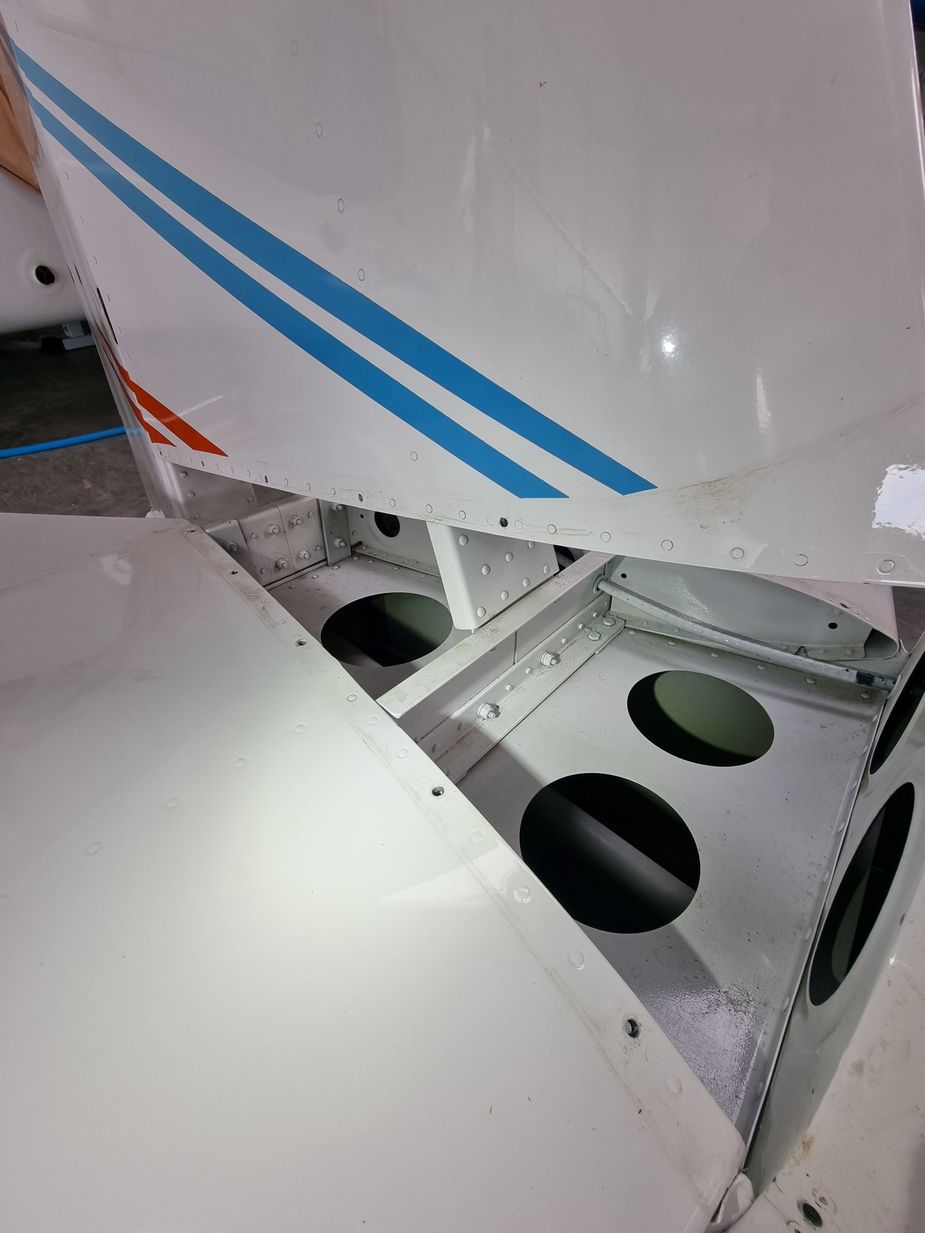
With this a list started coming together. The plane is pretty basic so there’s not much more annual maintenance than checking and lubricating the controls and regreasing the tailwheel assembly and main wheel bearings, besides the usual engine stuff. There are a few SBs to be complied with, but I think this plane has had a fairly easy life (not aerobatic approved.. yet, and mainly hard runways) so this does help.
The repairs had been done to a good standard, by the original builder, but annoyingly the tail spring is no longer completely straight. I can live with that for now. There was one benefit in that an RV7 engine mount was fitted, which is a bit tougher than the original -6 engine mount.
Initial checks of the engine seem OK. It has 600hrs since overhaul in 2001, so not a great deal and cam corrosion is a concern. The cylinders have some rust but besides #1, the rest are really surprisingly clean. Compressions were 64 on #1 (exhaust valve seat I think) and the rest were 72. Oil filter was clean. With this I decided to leave the engine alone for the moment and just keep an eye on it.
I opted to replace all the flexible hoses on the engine as these were probably 20 years old. The existing scat hoses were coming apart also and had been repaired with duct tape, I’m not sure why one would do this as a full set of new scat hoses cost only about £80 from @StevenR. I made up new oil hoses with Speedflow fittings, and did the same for the fuel hoses.
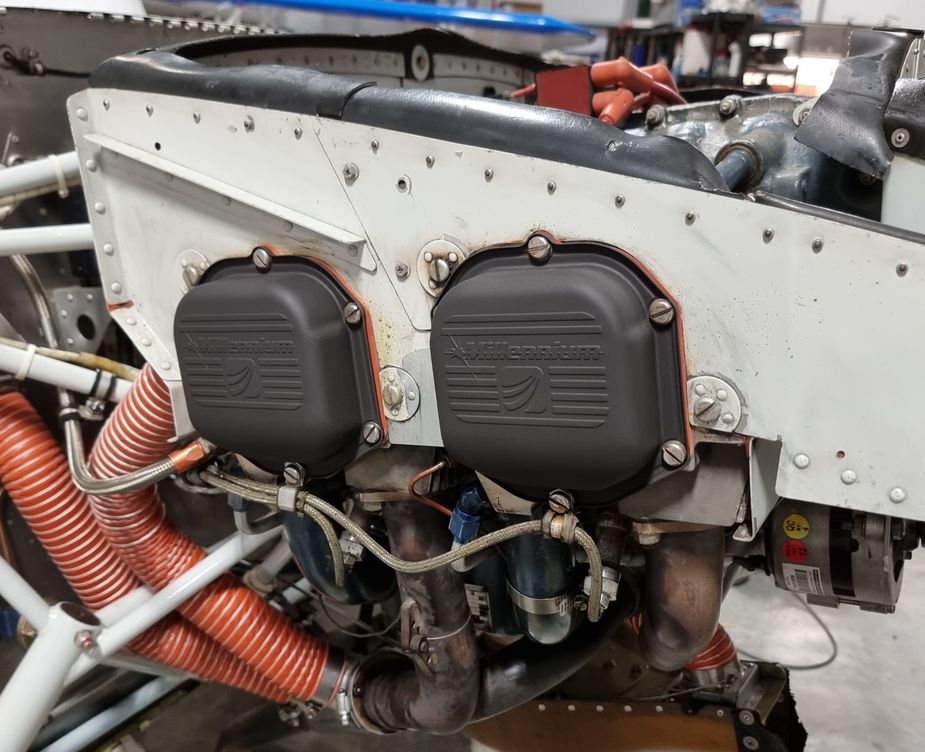
The rocker cover gaskets were leaking, whatever material they were made of was now fossilised. These were replaced with silicone items and the rocker covers repainted. The nose oil seal was also leaking so this was replaced, but I think it was the sealant used to hold it in place that failed rather than the actual seal.
Interestingly, I was warned by the Rotax crowd of the incredibly high costs involved in running a Lycoming. Besides oil filter, the parts I’ve had to buy so far are a fraction of the cost of equivalent Rotax items. Gaskets and seals for example are well served by PMA suppliers, and given the competition the prices are low, and in most cases cost between 50-90% cheaper than equivalent Rotax ones. Example, full set of Rotax 912 rocker cover O rings is about £80, or £40 for Lycoming equivalent. Lycoming crank oil seal (of which there is only one) was £14. Rotax equivalent is £114 (and there are 4 of them). Ok, overhaul and major repairs on a Lycoming are going to be higher, but they tend to last much longer too.
The interior came out for inspection. This was built with an RV4 throttle quadrant, which is nice and comfortable to use compared to the standard plungers, but does need fully dismantling to lift the seat bottom panels.
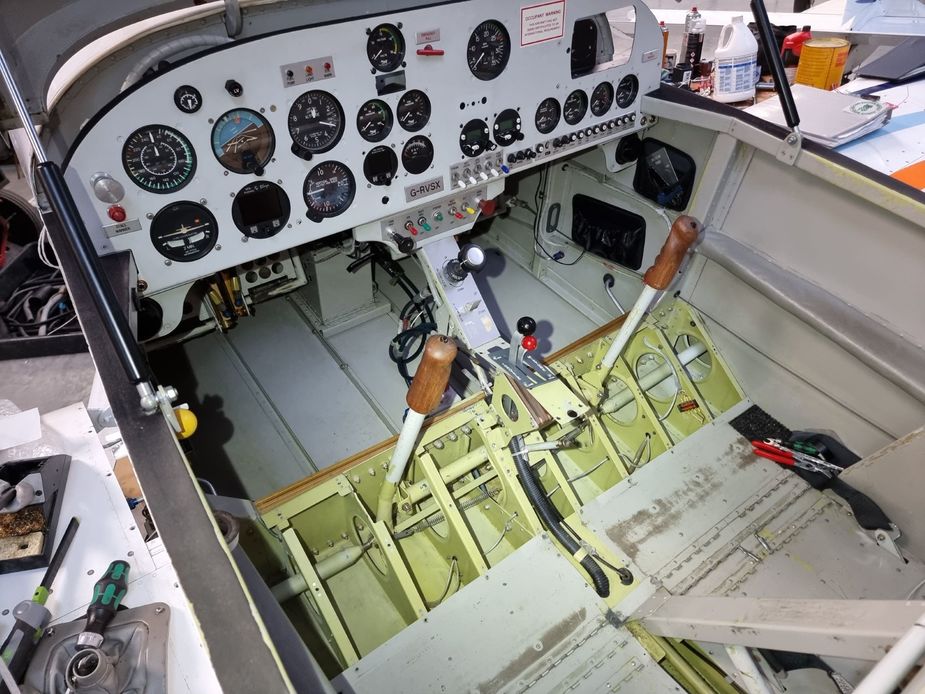
The biggest job turned out to be fixing the wiring. The original wiring at build was good, but since then some stuff has been removed and other items installed, to a less than ideal standard. My hatred of crimped connections was reignited, with the majority of the crimps found to be loose. Every single crimp for the alternator wiring, for example, was loose. All of these were cleaned up and soldered, or totally replaced (with crimp + solder).
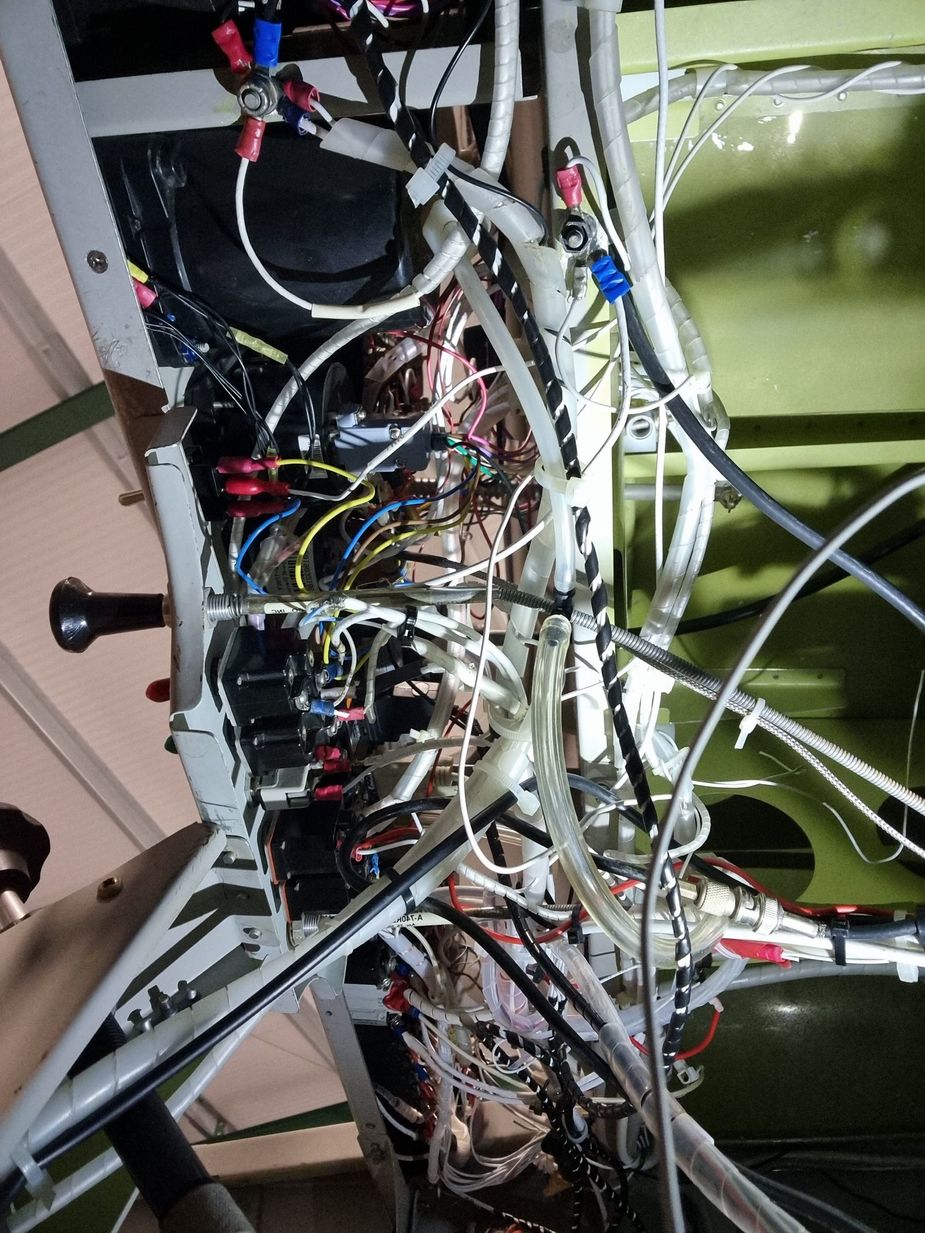
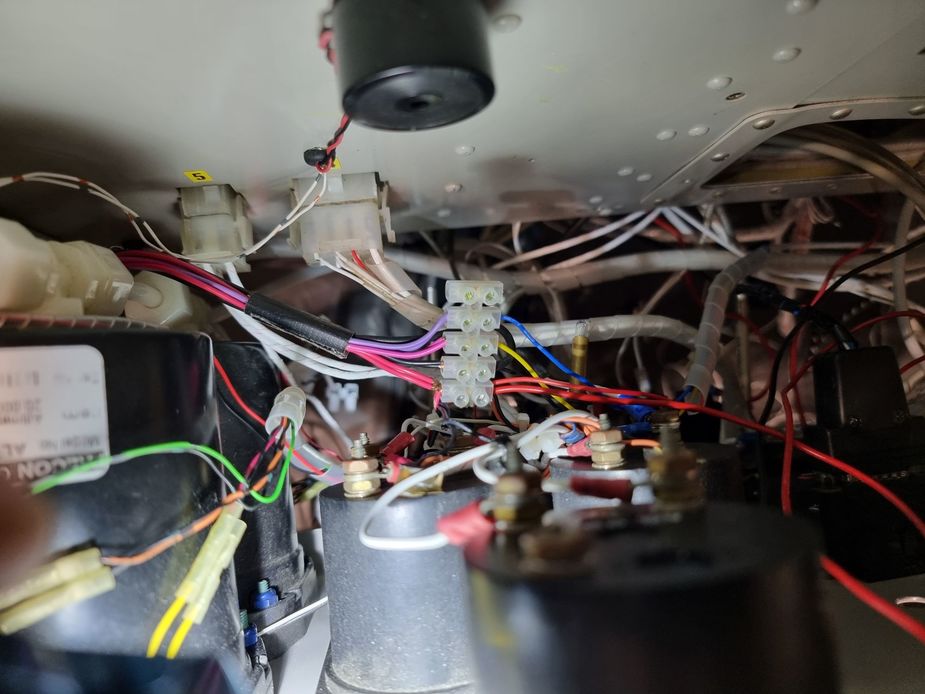
This resulted in many hours spent upside down in the footwell, removing a load of old wiring and replacing/rerouting all the new stuff. For example, the Trig radio had been installed using the standard Trig wiring loom and nothing had been shortened to fit, resulting in loads of excess wire. Despite having correctly sized CBs installed for both the radio and the xpdr, the radio was wired directly to the radio master switch for some reason, bypassing the CB. All this was rectified.
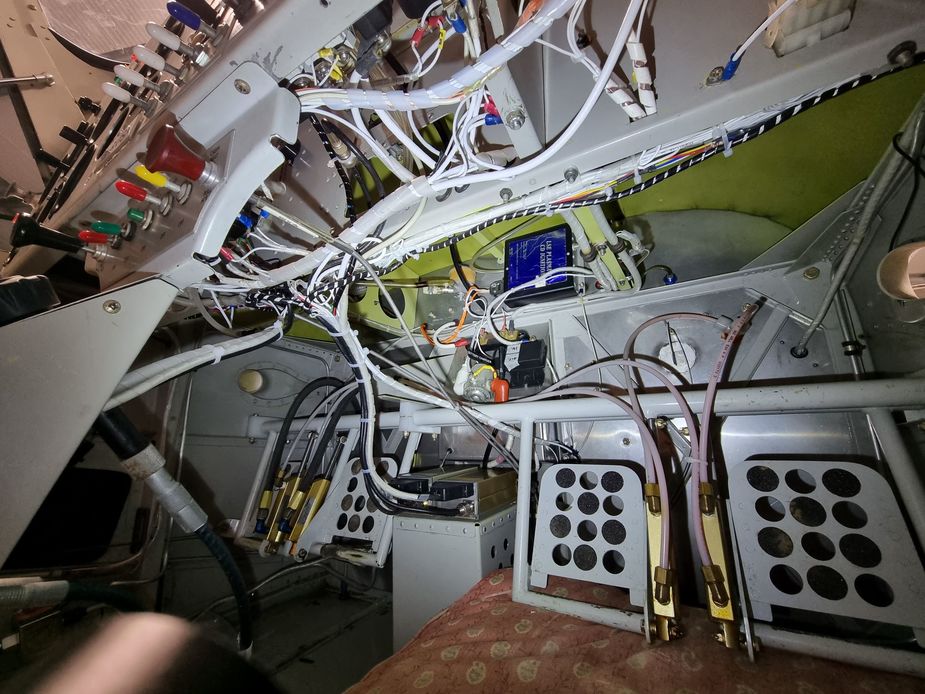
Already installed was a little MGL ahrs/compass and a fuel computer. The fuel computer only had one tank sender connected so this was fully rewired and a red cube flowmeter added. I set the K factor to the value in the manual, and ran fuel into a 25L container using the pump, and it was correct with no adjustments needed. Only one CHT and EGT gauge was installed so I took this out and fitted 4 EGT and CHT probes, and for cost reasons I replaced the dead turn coordinator with an MGL TC-6 to show the temperatures. I wouldn’t usually buy MGL stuff but it matched what was already installed, and was cheap. To be honest it’s a reasonable little device which does what it says on the tin. Later on I plan a panel upgrade which would include a EDM 350, but the probes are installed now so these can be reused.
I was left with a spare CB so I used this to power two quick charge USB ports and the large hole in the right of the panel was filled with a 3d printed piece to mount an ipad to.

The end result is not perfect and it won’t be without a full rewire, but it’s neatened up enough that I’m happy.
IO390 wrote:
Interestingly, I was warned by the Rotax crowd of the incredibly high costs involved in running a Lycoming
That one kind of puzzles me too. From the microlighters we’ve had around Andreas, it doesn’t seem like their Rotaxes are really any cheaper to look after than an O-320.
Initial checks of the engine seem OK. It has 600hrs since overhaul in 2001, so not a great deal and cam corrosion is a concern. The cylinders have some rust but besides #1, the rest are really surprisingly clean. Compressions were 64 on #1 (exhaust valve seat I think) and the rest were 72. Oil filter was clean. With this I decided to leave the engine alone for the moment and just keep an eye on it.
My O-320 has 1100 hrs or so since 1971, 30 years before yours was assembled It has much the same results when inspected except the compressions were all over 76/80 when checked recently. Fly it a while and watch the compression. I’ve been leaving mine alone and keeping an eye on it without issue for 13 years now. It gets flown a couple of times a month minimum except when I’m away, and just works.
Oddly enough, I had almost identical wiring issues with my plane too.
The RV looks very nice, I like internally primed airframes a lot. A friend of mine has one very similar that he built in the 90s and an RV-3 that he built more recently. He flies the -3 more due to its high performance, but takes the -6 to Oshkosh every year.
IO390 wrote:
Besides oil filter, the parts I’ve had to buy so far are a fraction of the cost of equivalent Rotax items. Gaskets and seals for example are well served by PMA suppliers, and given the competition the prices are low, and in most cases cost between 50-90% cheaper than equivalent Rotax ones.
Nice plane Not so nice wiring
Rotax parts from “authorized” Rotax dealers are expensive. I have seen a 5x variation in cost of oil filter for instance (the exact same OEM filter). Not often you replace gaskets and seals on a Rotax though.
IO390 wrote:
There are a few SBs to be complied with, but I think this plane has had a fairly easy life (not aerobatic approved.. yet, and mainly hard runways) so this does help.
Seems to me that most of the SBs are much easier to fix before visible cracks than after visible cracks, where larger parts of the structure must be replaced.
I was warned by the Rotax crowd of the incredibly high costs involved in running a Lycoming
Obviously…
From the microlighters we’ve had around Andreas, it doesn’t seem like their Rotaxes are really any cheaper to look after than an O-320.
Obviously…
There is no free lunch in this game.
Oh and the MPG is identical too, for a given cockpit volume